
My husband and I enjoy wine, though we do not claim to be wine experts. We do not spend a lot of money on a bottle of wine and probably never will. However, we wanted a nice place to store our wine and make selecting and drinking it more of an experience. I like cooking with wine. Drinking a glass with a delicious meal is something Jason and I can enjoy at home together without spending a great deal of money. We wanted to create a space that was functional as well as beautiful, and perhaps one that might be of interest to a future buyer of our home should we ever decide to sell and move. So we made a wine cellar and storage area that we happen to really love and didn't cost a lot of money. There was, however, a great deal of time and energy spent in creating this room and building the shelves to hold the wine, mostly on the part of my husband, Jason. We are excited to share our process with you! This is what our room looked like before.

Our next door neighbor has lived in our neighborhood for many years and knew the previous owners of our home. He told us the first owners of our home were an Italian family who had grape vines, fruit trees, vegetables, and herbs growing in the backyard. We think that they used this area to help preserve what they grew in the yard. The room was all sealed and there were hooks in the ceiling for drying herbs.

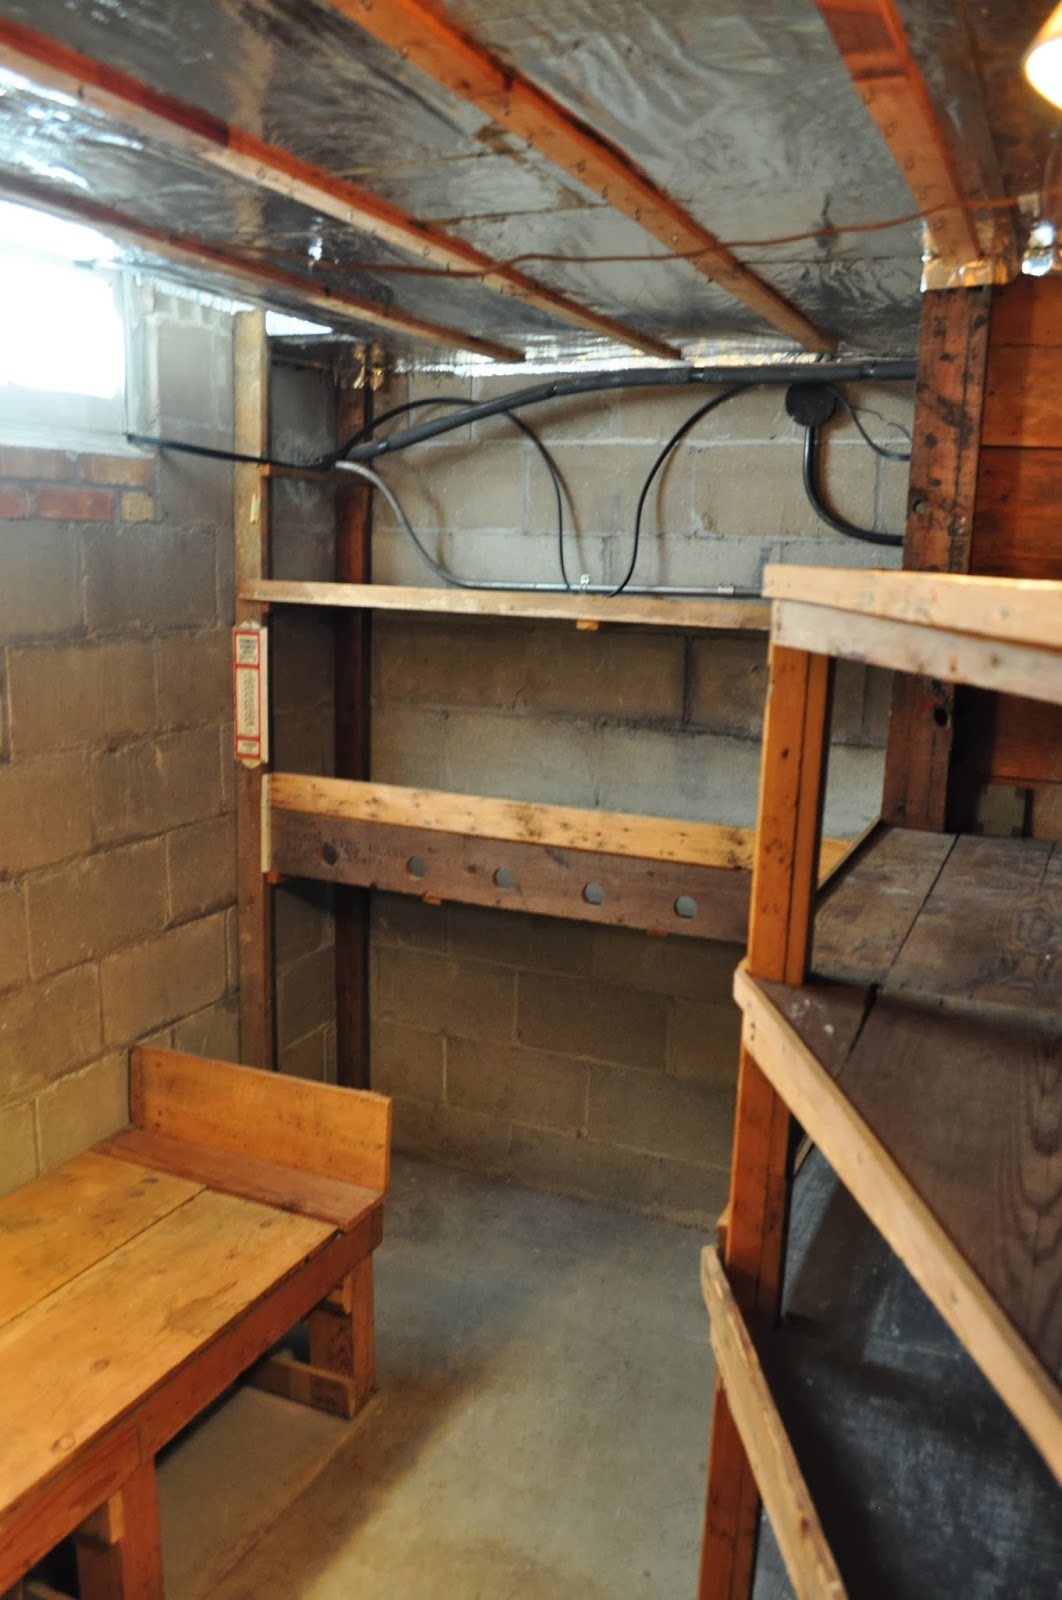


Needless to say, this room was not one that I enjoyed going into. Everything felt and looked dirty and old.
For us, this room is used primarily as a storage area. We store many of our kitchen items that we don't use on a daily basis down here because of the lack of storage space in our kitchen. As you can see, it was not a very nice place to keep much of anything!

We knew that to really fix this room up, we would have to do a little demolition. Jason began the demolition by ripping out some of the shelves. Our plan was to reuse some of them and paint them to freshen them up a little. We ripped mostly everything out, including this bench.


Jason also removed the wood and aluminum foil ceiling to reveal the floor joists that had been covered.


He painted the ceiling a nice, bright white. It is amazing how the white paint makes the ceiling seem a little bit taller! You can also see in this picture how he painted the shelves a dark gray color.

The walls also got some white paint. We used Zinsser Watertite Mold and Mildew-Proof Waterproofing Paint on the cinder block and on the wood walls we used a basic semi-gloss.

Here are the shelves before they were painted.

Here they are after being painted. Paint does wonders, doesn't it?

We have never had a problem with water in our basement, but we knew that we wanted to install some type of flooring in the room. We didn't want to take any chances for moisture to leak from the walls or through the floors. After painting the walls with the waterproofing paint, Jason caulked along the joint between the wall and the floor. He used Zinsser Watertite Polyurethane Sealant.

After the caulk dried (which took forever), he painted it with the waterproofing paint.

Framing the unit was done by using 2x4s. Getting the plans to work around the pipes running along the back wall was a little tricky! The wine shelves would have three separate sections. The three sections would hold white wines, red wines, and sparkling/special wines. The middle section would also have a display area to hold books, decorations, and provide an area to open and pour wine. The bottom section below the shelves would be turned into cabinets to hold extra wine glasses and provide extra storage for things we didn't want visible in the room.


To make the shelves that hold the wine, Jason used 1x2s and nailed them into place with a nail gun.

The little pieces that hold the wine on the shelves are 1/2''x3/4''. Jason nailed them into place as well. It was important to get equal spacing between each block of wood that supports the necks of the bottles. In order to do this, he cut a piece of wood the correct size to use as a spacer and simply moved it down the shelf after nailing each piece. This eliminated the need to measure each time before nailing and kept things square. The distance between the two small blocks is 1 1/4''.
We were pretty excited to put the wine on the shelves even though the whole unit was not done yet. You can see in this picture the defined sections of the unit as well as the display area in the middle. To give you an idea of how big the wine shelves are, the left and right sections are 16'' wide. The middle section is 21'' wide. The distance between the two boards the bottles rest on from the back edge to the front edge is 10 1/4''. The vertical distance between each shelf is 5 1/4''. The shelves the bottles rest on are the same height. The shape of the bottle allows the neck to rest at a natural angle because the neck is smaller than the bottom of the bottle. This allows the wine to remain in constant contact with the cork keeping it moist.


This picture shows the area below the shelves that will become cabinet space.

To make the display area, Jason lined it with 1/4'' birch plywood. The base of the cube is 1/2'' plywood.

To give the display area some visual interest and some light, Jason installed under cabinet puck lights, which are plugged in and strung together. He installed one more over each end section as well.

In order to make the display area look finished, Jason used pieces of 1/4'' quarter round to cover the seams where the sides and top meet the base of the box.

Jason didn't want to paint the whole floor before working in the room in case it somehow got damaged, so he just painted underneath the wine shelving. Before building and installing the cabinet doors, Jason painted the remainder of the floor with the waterproofing paint.


To cover the bottom storage area, Jason needed to build four doors. He made them out of 1/2'' plywood.


Jason dressed up the plywood by making a frame around the front of each piece. The wood that makes the frame around the front of the plywood is a 1/4'' thick by 1 3/4'' wide. To cover up the edge of the plywood, Jason used a rounded piece of moulding that measures 3/4'' wide and covers the seam between the framed piece and the plywood. The two outer doors measure 17''. The two middle doors measure 10 3/4''.

We fixed up the window in here with some frosted glass spray paint for privacy and gave it a couple of coats of paint.

Since you have been overloaded with "before" pictures and information on how we refinished this room and built a wine cellar, I'll end this post now and give you the "afters" later on this week. I can't wait to share it with you! Please stayed tuned and have a fabulous week!
I see this post if from a few years ago but that is truly amazing! I'd love to see the after photos! I just moved into my new house and have many projects up my sleeve, but this is a must for part of my basement! This is so helpful! Thank you so much!
ReplyDelete